
Staying safe near coast
- Stay in designated area (1)
- Keep away from base of cliff / overhang (1)
- Avoid slippery rocks / slippery wood (1)
- Work in pairs / groups (1)
- Wear sensible shoes / waterproofs (1)
- Use phone / whistle in emergency (1)
- Don’t go in the sea (1)
- Arrange meeting points / agree time to meet (1)
- Tell teacher / adult where you are going (1)
Why size of pebble varies
- More powerful swash / strong waves / big waves / storm waves take all sizes of material up the beach (1)
- Less powerful backwash/ water going back carries smaller material down the beach (1)
- Erosion more rapid close to the sea where more frequent water movement (1)
- Rock falls from cliff provide larger material at back of beach (1)
How to find wind direction
- Wind sock / streamer / material held up / throw grass into the air / wet finger / / observe features blown by wind (1)
- Use compass to see direction wind is blowing (1)
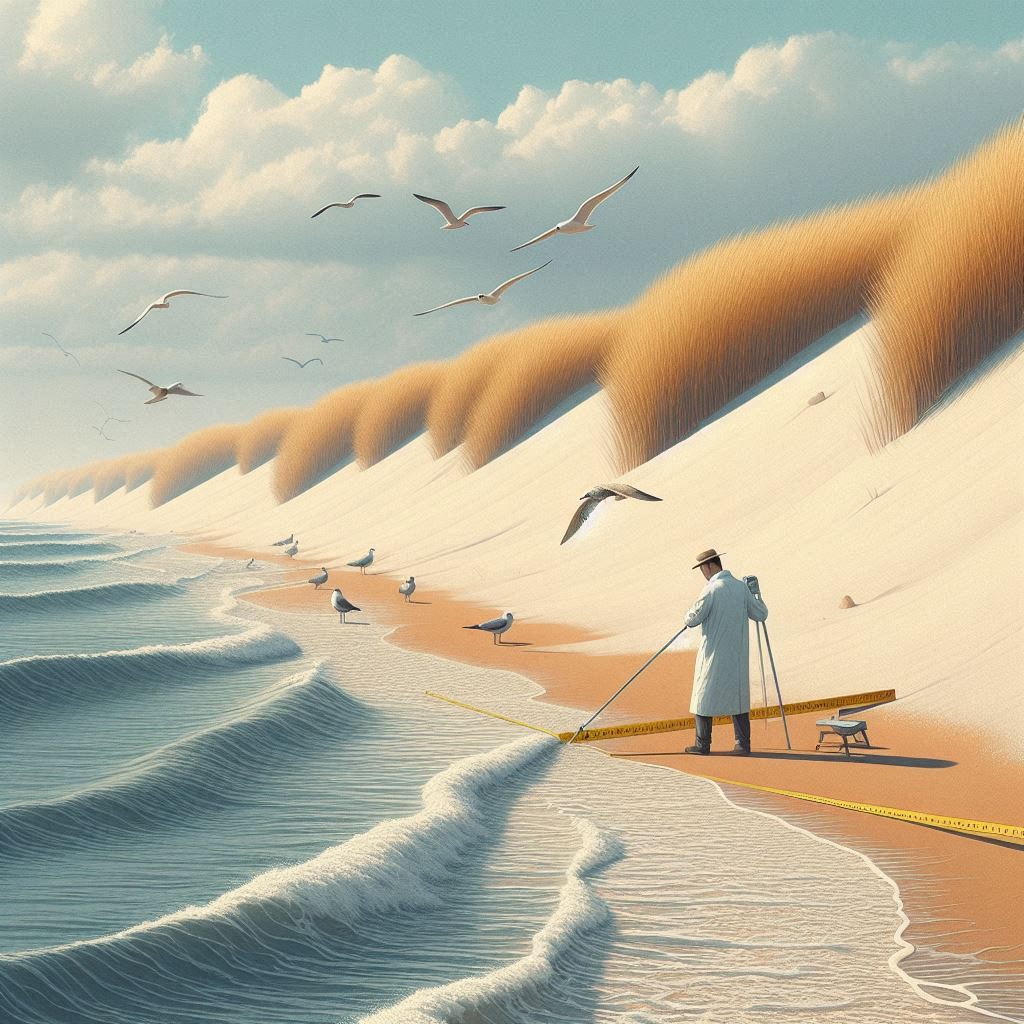
Find beach profile using two ranging poles + clinometers + tape measure
- Put tape measure out along transect line / to create a transect line (1)
- Put one pole at edge of sea / back of beach / start of profile(1)
- Put poles at equal distance OR put ranging poles at breaks of slope (1)
- Ensure poles are vertical (1)
- Measure with tape measure 5–10 m if using equal distance (1)
- Measure with tape measure distance between ranging poles if using break of slope (1)
- Rest poles on surface / equal depth into sand / equal height above sand (1)
- Student holds clinometer next to top / at agreed height on ranging pole / at eye level (1)
- Sight other ranging pole at top / same height (1)
- Read angle / measure angle / record angle (1) NOT gradient
- Move poles along beach / along profile to next site (1)
- Repeat measurements until the profile is finished (1)
Clinometer operation
- Student holds clinometer next to top / at agreed height on ranging pole / at eye level
- Sight other ranging pole at top / same height
- Read angle / measure angle / record angle
How people walking affects infiltration
- People compress / compact the ground / ground hardens
- Water cannot soak into the ground as quickly / less gaps in soil
- Lowers infiltration rate / slows down infiltration / harder to infiltrate
- Impermeable footpaths may be built for tourists reducing infiltration
Equipment in slope measurement
Ranging poles:
- Poles between two breaks of slope (1)
- Ensure they are vertical (1)
- Must rest on surface, (1)
Tape measure:
- Lay it out between the two poles (1)
- Measure the distance between poles (1)
Clinometer:
- Hold clinometer next to top on a ranging pole / at eye level (1)
- Sight other ranging pole at top (1)
- Allow clinometer to adjust to angle (1)
- Read off / measure angle (1)
- Reserve 1 mark for use of each piece of equipment
How to improve
- Another student checks measurements (1)
- Take more measurements / more sites / intervals and average results (1)
- Measure along more than one dune profile/another part of beach (1)
Protect dunes
Method 1
The sign/keep off the dunes – should prevent people trampling/walking over them (1)
Method 2
The footpath / boardwalk / bridge allows people to cross dunes / not walking on them (1)
Method 3
Planting grass / plants / vegetation to help stabilise dunes / stops erosion (1)
Method 4
Walkway / fencing keeps people off the dunes / stops walking on dunes (1)
Making river width measurement reliable
- check measurement by repeating process and take average;
- another student/pair checks the measurement;
- make sure the tape is taut/stretched out/tight/flexed;
- make sure the tape is at right angles/straight across the river.
Velocity of river with float method
- put poles/sticks/rods at fixed distance/>5 up to 10 metres along river/at start and end of fixed distance;
- use tape measure to measure a fixed distance/10 metres;
- put orange in river at start of measured distance;
- start stopwatch/timer/watch when orange/ball is put in river/
- stopwatch/timer/watch measures time it takes to travel the measured distance/
- stop stopwatch/timer/watch when orange reaches end of measured distance.
Why area of river cross section may affect river velocity
- large area so less water is in contact with sides/bed of channel so there is less friction to slow river down; (1)
- small area so more water is in contact with sides/bed of channel so more friction/rocks slow water down. (1)
Note: Seneca is great too for IGCSE Geography.